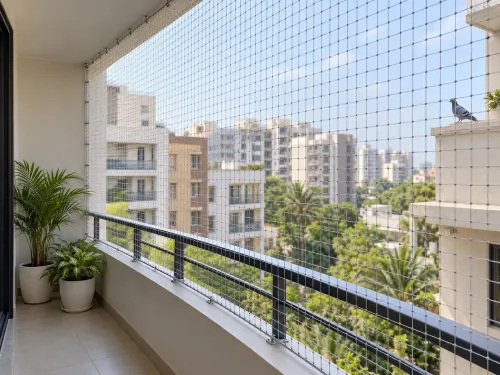
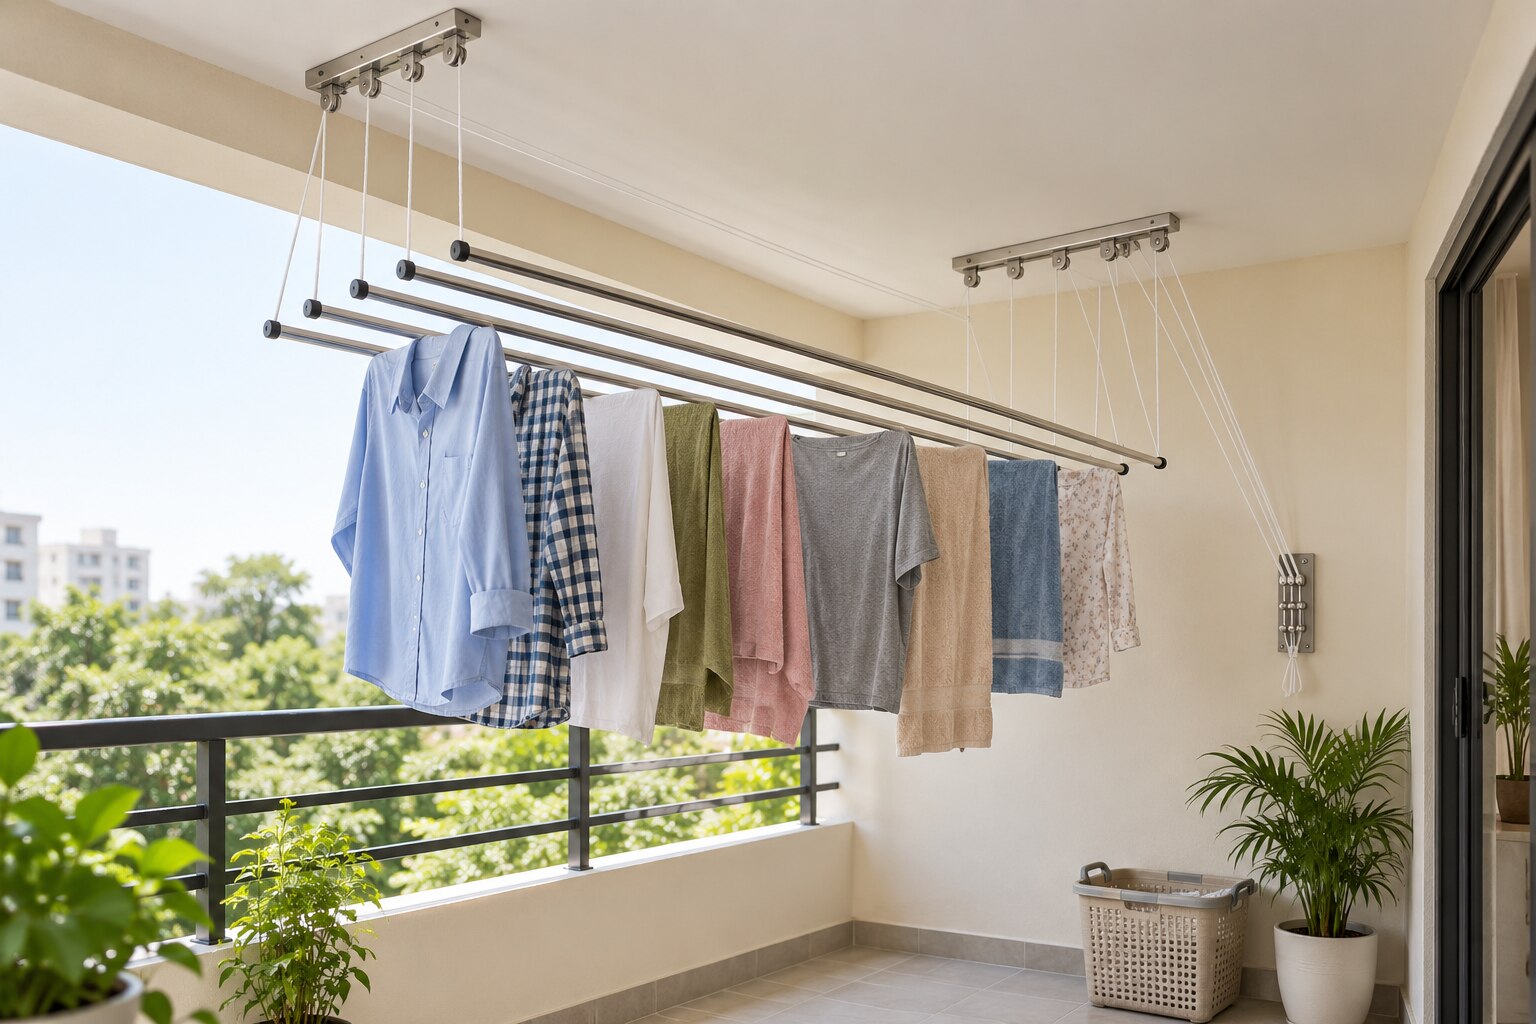
A floor airer can consume the same walkway, seating area, or bathroom access that a compact home cannot spare. By matching the hanger type to your ceiling structure, available clearances, laundry volume, and reach, you can reclaim floor area without creating an awkward or unsafe drying setup.
Key takeaways
- Use ceiling height to free floor space beneath the drying rack.
- Choose manual, pulley, or motorised lifting based on reach and household needs.
- Measure rack length, ceiling height, rod drop, and walking clearances first.
- Confirm the ceiling structure can support the fully loaded rack.
How a ceiling hanger creates usable floor space
Moving laundry into vertical ceiling space removes the permanent floor footprint of a floor-standing airer. Once a raised drying rack sits close to the ceiling, the area beneath it can return to circulation, storage, or daily use instead of holding a bulky frame.
The space is not completely free while the rack is in use. A lowered rack needs its full length-and-width footprint on the floor, plus enough clear space for you to stand beside it and hang or remove garments. Keep that working area clear of furniture, door swings, and walkways.
The greatest gain in compact homes comes from raising the rack after loading, not from choosing the largest rack available. A wide rack that stays low can obstruct the room more than a smaller model that reaches the ceiling and leaves the floor open between uses.
Measure the floor area directly below the rack and mark the operating zone with tape. Include the space needed to pull the rack down, reach every rod, and move around it without using a chair or blocking an exit.
If the rack cannot be raised high enough to restore this area, a wall-mounted or freestanding alternative may fit better. Good airflow still matters: clothes packed near the ceiling dry slowly and release moisture into the room.
Choose the operating system that fits your household
The right operating system depends on who will raise, lower, load, and control the rack. Choose for everyday comfort, not only the maximum weight shown in a product listing.
| Option | How it works | Comfortable for |
|---|---|---|
| Manual pulley system | You pull a rope to raise or lower the frame. It reduces lifting at the rack but still requires repeated pulling and a secure place to hold the rope. | Adults with reliable grip, balance, and enough strength for the loaded frame |
| Crank-operated hanger | You turn a winding handle, usually from standing height. The gearing makes lifting smoother than pulling a rope, but repeated winding can strain a weak wrist or shoulder. | Users who prefer controlled movement and can turn a handle comfortably |
| Fixed ceiling rack | The rods remain at one height. You load garments from the floor only when the rack is within easy reach; otherwise, reaching or a step stool becomes part of every laundry cycle. | Tall users or households with a permanently accessible mounting height |
| Motorised ceiling hanger | A switch or remote raises and lowers the rack. It requires a suitable power connection and controls that everyone can find and use. | Older adults, people with limited upper-body strength, or anyone who cannot comfortably pull or crank |
For a household with children, keep pulley cords short, secured, or tensioned so a loose loop does not hang within reach. A motorised model suits convenience, but a power failure or control fault leaves the rack wherever it stopped; retain enough manual access to unload it safely.
Measure reach, clearances, rods, and lifting height before buying
Measure the ceiling height, rack dimensions, garment length, and user reach before choosing a model. The rack must fit at its highest position and remain usable when fully lowered, loaded, and hanging over the floor.
1. Measure from the finished floor to the ceiling, then subtract the hanger’s raised height. The remaining space is your lifting height; it must let the lowest operating position sit above heads and avoid ceiling fans, doors, cupboards, and furniture.
2. Measure wall clearance from the intended fixing line to the nearest wall or obstacle. Add the frame’s projection and the length of wet garments, because a rack that clears the ceiling can still hit a wall or obstruct a walkway.
3. Record window clearance from the sill, opening, curtain track, and handle. Leave enough room for the rack and laundry to move without blocking the window or pressing clothes against glass, which reduces airflow and prolongs drying.
4. Check the operator’s reach at the lowest position. A pulley or crank is not accessible if the cord or handle sits beyond comfortable standing reach, especially when you must load several wet garments.
5. Count rods against your normal load, not the maximum number shown in a photograph. Allow space between garments on each rod; tightly packed clothing dries slowly. Measure the total usable rod length and compare it with the number of shirts, trousers, towels, and heavier items you wash together.
Raise the planned rack on paper or with masking tape before buying. This exposes clearance errors that a product photograph hides.
Verify the ceiling structure before fixing a loaded rack
A loaded rack is safe only when its fasteners reach a verified structural member, not merely the visible ceiling finish. A concrete ceiling usually needs anchors rated for the slab; a brick ceiling needs masonry anchors installed in sound brick, not mortar joints or loose plaster.
A joist or engineered support frame also works when the fixing points align with it.
- Inspect the surface. Reject locations with damp staining, cracks, loose plaster, or water damage. Gypsum board and false ceiling panels are finishes, not structural supports; toggle plugs in the board alone are unsuitable for a concentrated, repeatedly moving load.
- Calculate the actual suspended load. Weigh the wet laundry in a basket, then add the rack, rods, hangers, pulley hardware, and any baskets lifted with it. Compare that total with the manufacturer’s working load for the complete frame, lifting system, fasteners, and ceiling type. A product rating does not authorise attachment to an unknown surface.
- Map hidden services before drilling. Use building plans and a suitable detector to locate electrical cables, water pipes, gas lines, reinforcement, and the ceiling layout. Keep extra distance from light fittings, bathrooms, kitchens, and service risers; stop if the scan is unclear.
- Have the installer confirm the substrate and anchor specification in writing. UNIFIRST SALES AND SERVICES can help assess whether the proposed fixing location suits the installation, rather than treating a decorative panel as support.
If the structure cannot be verified, choose a folding wall rack, retractable clothesline, or freestanding rack instead.
Keep airflow, controls, and household safety in the layout
Position the rack where air can move around the garments, not in a sealed corner or directly above a heat source. Indoor laundry ventilation matters because water leaves wet fabric and enters the room; extraction or air exchange controls relative humidity, reducing condensation on cold ceilings and windows and the mould that follows.
A rack is not a substitute for ventilation.
Before fixing it, check these clearance points:
- Keep lowered rails above head height and away from furniture, ceiling fans, doors, and windows; include the full garment length in your measurement.
- Keep raised laundry clear of smoke alarms, sprinkler heads, light fittings, ventilation grilles, air-conditioning units, loft hatches, and escape routes.
- Leave the control reachable from the floor; never rely on an unstable chair or improvised step.
Check the rack’s wet-load limit before hanging clothes. Retained water can make laundry substantially heavier than its dry weight, so dry garments are the wrong basis for loading.
Use child-safe cord control: choose a cordless arrangement where children can reach the room, or secure any cord to a cleat and keep it tensioned so it cannot form a loose loop. A long pull cord creates a catch and strangulation hazard. Follow the applicable window-covering and household-product safety requirements.
Frequently asked questions
How does a ceiling clothes hanger create usable floor space?
It lifts laundry above the room, removing the permanent footprint of a floor-standing airer and restoring the space below for circulation, storage, or daily use.
Which ceiling hanger operating system should you choose?
Choose a manual fixed-height system for simple use, a pulley system when you need adjustable lifting, or a motorised system when lifting height and accessibility matter.
What should you measure before buying a ceiling clothes hanger?
Measure the rack length, available ceiling height, rod drop, lifting height, reach, and clearances from doors, fans, lights, and walking routes.
How do you check whether a ceiling can support a loaded rack?
Identify the structural fixing point before installation and confirm it supports the rack, hardware, and wet laundry load; do not rely on plasterboard or a false ceiling alone.
How should airflow, controls, and safety affect the layout?
Keep the rack clear of ceiling fans, vents, lights, doors, and electrical controls, and leave enough clearance for safe walking and loading.